
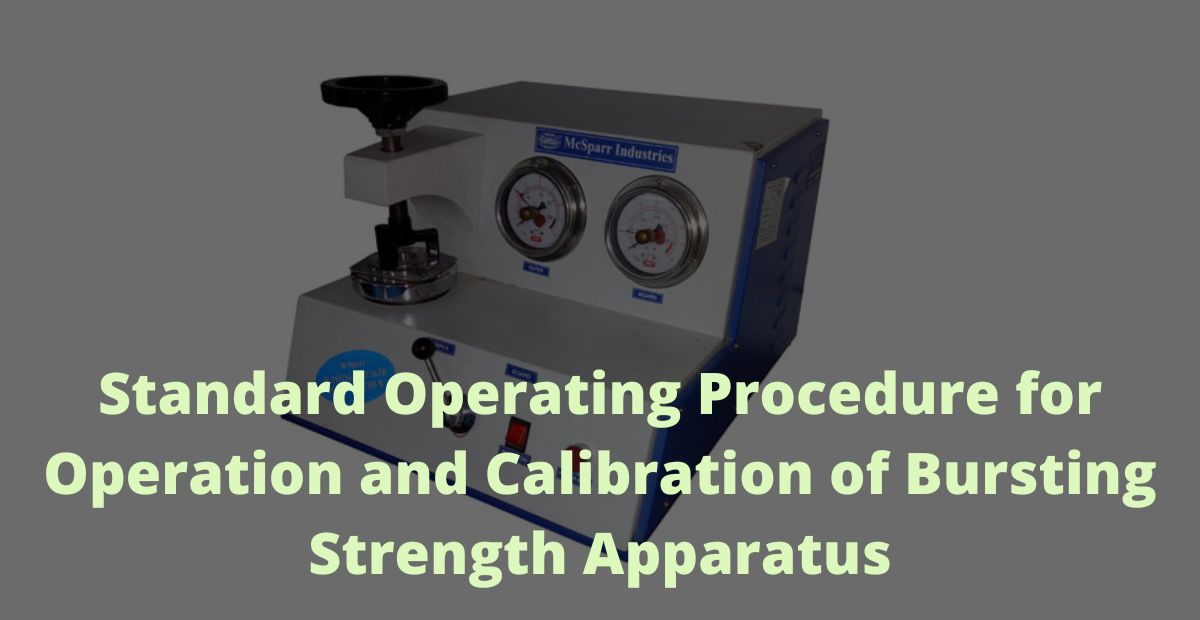
Standard Operating Procedure for Operation and Calibration of Bursting Strength Apparatus.
1.0 Purpose:
To lay down a procedure for Operation and Calibration of Bursting Strength Apparatus.
2.0 Scope:
The scope of this procedure is applicable for Operation and Calibration of Bursting Strength Apparatus.
3.0 Responsibility:
QC Personnel: To operate, clean and calibrate Bursting Strength Apparatus.
Section Head QC: To review the calibration report.
Head QC/ Designee: To approve the calibration report.
4.0 Definitions:
NA
5.0 Procedure:
5.1 Ensure that maximum pointer of the gauge is at zero position.
5.2 Ensure that there is no leakage of fluid.
5.3 Maintenance / Repairs:
5.3.1 When the instrument does not comply with the requirement / acceptance criteria, the instrument should be labelled “UNDER MAINTANANCE”. Instrument shall be repaired / serviced and recalibrated as per calibration SOP.
5.4 Do not over tight the upper clamping plate.
5.5 Place a piece of paper on rubber diaphragm to protect from dust when it is not in use.
5.6 Operating Procedure:
5.6.1 Switch “ON” the mains.
5.6.2 Raise tripod and upper clamping plate by rotating clamp wheel anticlockwise.
5.6.3 Place the sample of the material to be tested over the diaphragm between upper and lower clamping plates.
5.6.4 Rotate the clamp wheel clockwise and tighten the upper clamping plate.
5.6.5 Move the black knob located below the gauge, on Gauge I or Gauge II.
5.6.6 Gauge I has the limit of 0 to 8 Kg / cm2 and Gauge II has the limit of 0 to 40 Kg / cm2.
5.6.7 Switch “ON” the power button (Green) on the apparatus.
5.6.8 Push “PUSH FOR BURST” (Red) push button and keep it pressed till the sample bursts.
5.6.9 Record the bursting strength indicated by the maximum pointer (Red).
5.6.10 Remove the sample by rotating clamp wheel in anticlockwise direction.
5.6.11 Switch “OFF” the power button on the apparatus.
5.6.12 Switch “OFF” the mains.
5.6.13 Calibration procedure :
- Raise tripod and upper clamping plate by rotating clamp wheel anticlockwise.
- Place the sample of standard aluminum foil with known bursting strength over the diaphragm between upper and lower clamping plates
- Tighten the upper clamping plate just enough to hold the sample.
- Keep “PUSH FOR BURST” red button pressed till the sample bursts.
- Record the bursting pressure indicated by the maximum pointer (red).
- Repeat the procedure three times and calculate the average.
- Remove the sample by rotating clamp wheel in anticlockwise direction.
- Similarly place other calibration standards over the diaphragm between upper and lower clamping plates and repeat the above applicable step.
6.0 Acceptance Criteria:
As per the calibration standards.
7.0 Frequency:
Operation: As and when required.
Calibration: Quarterly – 5 days.
8.0 Format for recording:
8.1 Format for “Instrument Usage Logbook”.
8.2 Format for “Calibration Protocol”.