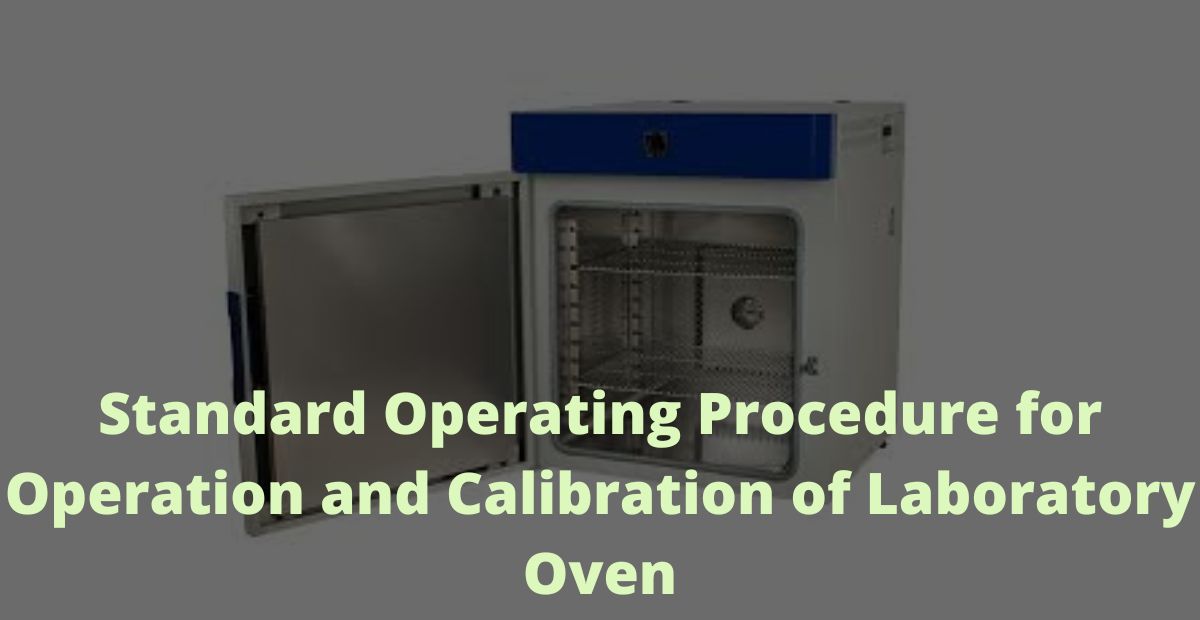
Standard Operating Procedure for Operation and Calibration of Laboratory Oven
1.0 Purpose:
To lay down a procedure for Operation and Calibration of Laboratory Oven.
2.0 Scope:
The scope of this procedure is applicable for Operation and Calibration of Laboratory Oven.
3.0 Responsibility:
3.1 QC Personnel:
3.1.1 To Operate, Clean and Calibrate Laboratory Oven.
3.1.2 To Prepare the Calibration Report and Certificate of Analysis.
3.2 Section Head-QC /Designee:
3.2.1 To Check the Calibration Report and Certificate of Analysis.
3.2.2 To Monitor the Activity.
3.3 Head-QC / Designee:
3.3.1 To Approve the Calibration Report and Certificate of Analysis.
3.3.2 To Monitor the Activity.
4.0 Definitions and Abbreviations:
NA
5.0 Procedure:
5.1 Ensure that the Laboratory Oven is clean after every operation.
5.2 The door of the Laboratory Oven should be tightly closed during operation.
5.3 Maintenance/Repairs:
5.3.1 If the Oven does not comply with the requirement/acceptance criteria, it should be labeled as “OUT OF CALIBRATION”. The Oven shall be repaired/serviced and recalibrated as per the Calibration SOP.
5.4 Ensure that the Laboratory Oven is within the validity period of calibration.
5.5 Always use heat-resistant hand gloves and a pair of tongs to remove samples from the Oven.
5.6 Do not overload the Oven with sampling tools.
5.7 Operation:
5.7.1 Turn the power switch to the “ON” position.
5.7.2 After a few seconds, a screen appears indicating the version of the operating firmware.
5.7.3 After a short time, the display will clear and display, “REMOVE SPINDLE PRESS ANY KEY”.
5.7.4 After removing the spindle and pressing any key, the DV-II + Pro begins its auto zeroing and the screen will flash “Auto zeroing”.
5.7.5 After approximately 15 seconds, the display shows the screen, “REPLACE SPINDLE PRESS ANY KEY”.
5.7.6 Pressing any key at this point results in a change in display on the screen.
5.7.7 Pressing the select spindle key will display the currently selected spindle code instead of temperature and cause the character S to begin to blink. It will blink for about three seconds. If either the “UP” or “DOWN” arrow keys are pressed (while S is blinking), it will change the two-character spindle value.
5.7.8 When the desired spindle code is displayed, release the ARROW key to halt further scrolling.
5.7.9 To select a viscometer speed, first press either the “UP” or “Down” arrow keys which will cause the area to the right of RPM to display the currently selected speed.
5.7.10 When the required speed is displayed, release the ARROW key to halt further scrolling.
5.7.11 Pressing the MOTOR “ON / OFF / ESCAPE” key stops viscometer spindle rotation. 5.8 Making Viscosity Measurement:
5.8.1 Mount the Quardleg on the DV-II + Pro Viscometer and insert it into a container.
5.8.2 Insert and center spindle in test material until fluid’s level is at immersion groove on spindle’s shaft.
5.8.3 The process of selecting a spindle and speed for an unknown fluid is normally trial and error; an appropriate selection will result in measurements made between 10 -100 on instrument’s % torque scale.
5.8.4 Viscosity range is inversely proportional to size of spindle.
5.8.5 Viscosity range is inversely proportional to rotational speed.
5.8.6 Turn “ON” motor to allow time for indicated reading to stabilize and record values.
5.8.7 Press MOTOR “ON/OFF” key and turn motor “OFF”.
5.8.8 Clean and dry spindle using tissue paper.
5.9 Calibration Procedure:
5.9.1 Operate the Oven as per above point.
5.9.2 Put “ON” the Oven and set the temperature knob to 50°C and 180°C temperature.
5.9.3 After one hour and two hour, check the temperature with Calibrated temperature sensor probe at different location – Top, Middle and Bottom (as shown in below diagram) for both 50°C and 180°C temperature.
5.9.4 Prepare the calibration check report and check for meeting the acceptance criteria.
5.9.5 Update the status of Oven as ‘CALIBRATED’.
5.9.6 If Calibration is not satisfactory inform Manager-QC and take corrective action.
6.0 Acceptance Criteria:
6.1 Calibration: The temperature difference between display temperature and calibrated temperature sensor shall be ± 1 °C.
7.0 Frequency:
7.1 Operation: As and when required.
7.2 Calibration: Quarterly – 5 days.
7.3 Cleaning: As per defined Procedure.
8.0 Format for recording:
8.1 Format for “Instrument Usage Logbook”.
8.2 Format for “Instrument Calibration Protocol”.

