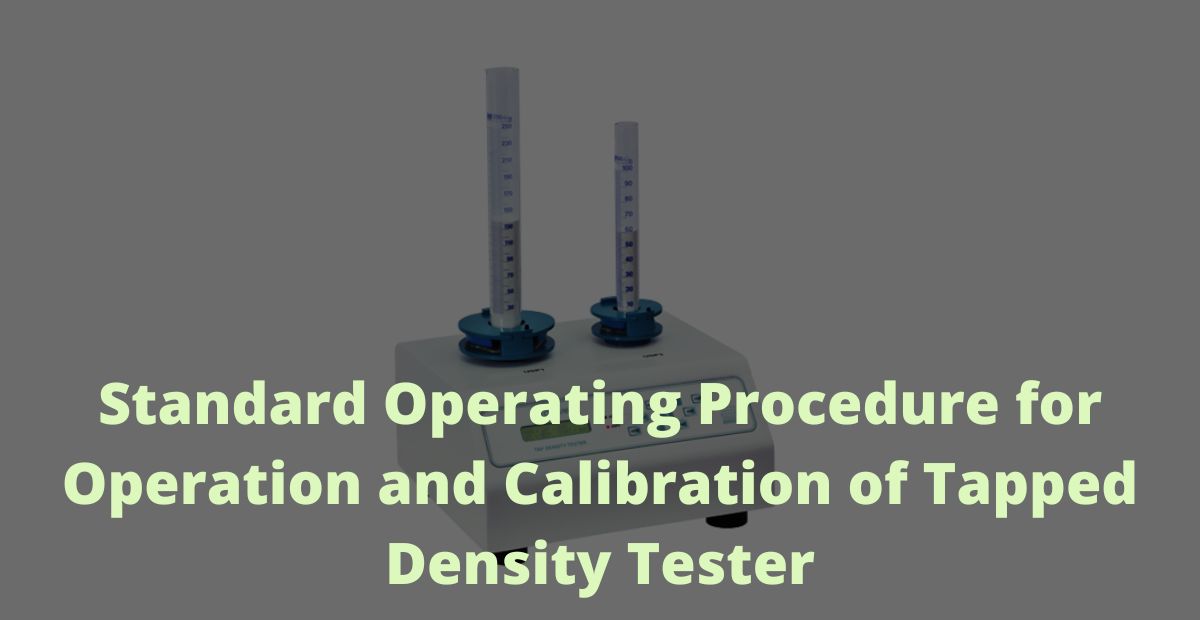
Standard Operating Procedure for Operation and Calibration of Tapped Density Tester
1.0 Purpose:
To lay down a procedure for Operation and Calibration of Tapped Density Tester.
2.0 Scope:
The scope of this SOP is applicable for Operation and Calibration of Tapped Density Tester, located in Quality Control Laboratory of [Company Name].
3.0 Responsibility:
QC Personnel: To Operate, Clean and Calibrate the Tapped Density Tester. To Prepare the Certificate of Calibration.
Lab QA Reviewer: To Check the Calibration Report.
Head QC/Designee: To Approve the Calibration Report. Ensure the compliance of the SOP.
4.0 Definitions:
NA
5.0 Procedure:
5.1 Place the tapped density tester on a leveled surface or base.
5.2 Place the cylinder holders on the anvil.
5.3 Ensure the availability of the supplier certificate for the cylinder used in the tapped density tester.
5.4 Before operation, always check the calibration status of the instrument.
5.5 Check the calibration status of the stopwatch used for the calibration of the tapped density tester.
5.6 Maintenance/Repairs: In case the calibration of the instrument is not satisfactory, it shall be labeled as “OUT OF CALIBRATION” and follow the procedure as per “SOP for Handling of Out of Calibration”.
5.7 Avoid any dust accumulation around the instrument and on the bearing.
5.8 Do not lubricate the bearing.
5.9 Keep the cylinder holder clean.
5.10 Use a clean and dry cylinder during calibration.
5.11 Operating Procedure:
• Switch “ON” the power.
• The instrument shall initialize automatically. The display shall flash and show the startup screen.
• The system is now ready. Select the mode “USP” or “User”.
• Press the “SET” key to set the test parameters.
• Press the “Start” key to run the test.
• Weigh the test sample and enter the weight, press the “ENTER” key to register the weight.
• Fill the test sample into a measuring cylinder. Carefully level the test sample without compacting or tapping.
• Read the unsettled apparent volume “V0” to the nearest graduated unit and enter the volume using “UP/DOWN” and digit scroll key. Press the “ENTER” key to register the volume.
• Keep the measuring cylinder in holder. Lock holder assembly.
• Turn “ON” ETD-1020. Press “Start” key to run test.
• Pressing “Start” key shall start test as per method selected.
• After programmed tap count 1 is over, measure tapped volume “Va” to nearest graduated unit. Enter value for “Va” using UP/DOWN and digit scroll keys. Press “ENTER” key to register value of “Va”.
• Press “Start” key to start test again. Test shall continue till programmed tap count 2 is over. Display shall now show elapsed tap and drops per minute.
• After programmed tap count 2 is over, measure tapped volume “Vb” to nearest graduated unit. Enter value for “Vb” using UP/DOWN and digit scroll keys. Press enter key to register value of “Vb”.
• Difference between two volumes, “Va” and “Vb”, is now calculated and displayed. Press “Start” key to continue test. Pressing “Stop” key shall display results.
• Note: USP has specified to run test till difference between two successive volume measurements (Va and Vb) is less than 2%.
• To reset instrument when in run, press “RESET” key. When “RESET” key is pressed, test is considered over and display shall flash startup screen. Instrument shall be ready for next test.
• Calculate tapped density manually by following formula: Tapped density = Weight of Sample / Volume Occupied after desired number of strokes
• After completion of test, switch off mains of instrument.
5.12 Calibration Procedure:
• Operate instrument as per operating procedure.
• Calibration of Strokes/Minute:
O Switch on mains.
O Set method USP I.
O Start instrument and stopwatch at same time.
O Count strokes per minute for USP I method.
O Repeat procedure two times and take average of three readings.
O Repeat above steps for USP II method.
• Calibration of LCD Display:
• Set the instrument in “USER” mode.
• Set the stroke to 300 for USP I method.
• Count the strokes per minute. When 300 strokes are completed, check the display.
• Repeat the procedure two times and take the average of three readings.
• Repeat the same for 250 strokes for USP II method.
• Prepare the Calibration Check Report and Certificate of Calibration.
• Switch off the instrument and mains.
5.13 Cleaning Procedure:
• Switch off the instrument and mains before cleaning.
• Clean the outer surface of the instrument with a dry, clean, lint-free cloth after operation.
• Clean the surrounding of the instrument properly.
6.0 Acceptance Criteria:
6.1 Calibration:
Calibration of Strokes / Minute for USP I: ± 3 Strokes / Minute
Calibration of Strokes / Minute for USP II: ± 3 Strokes / Minute
Calibration of LCD Display: ± 3 Strokes
7.0 Frequency:
7.1 Operation: As and when required.
7.2 Calibration: Quarterly – 5 Days.
7.3 Cleaning: As and when required as per defined procedure.
8.0 Format for recording:
8.1 Format for “Instrument Usage Logbook”
8.2 Format for “Instrument Calibration Protocol”
8.3 Distribution list of SOP Formats/ Annexures

